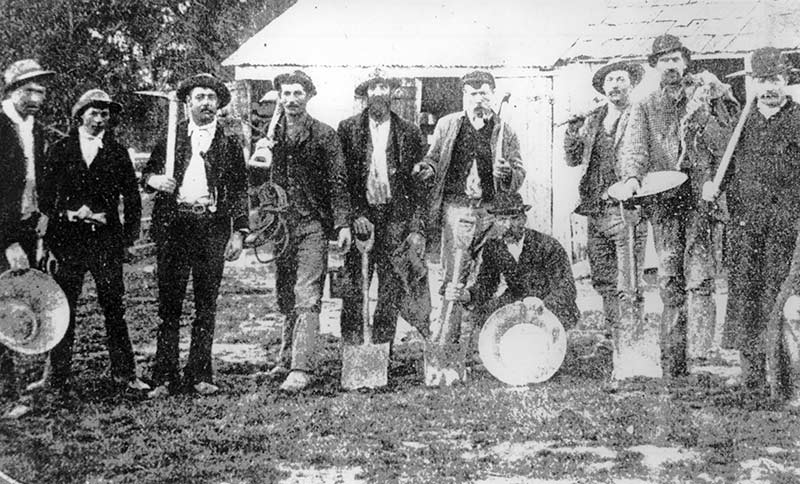

Gold panning is a popular method of placer mining that has been around for centuries. It is a simple and effective way to find small amounts of gold in rivers, streams, and creeks. The process of panning for gold may seem straightforward, but it does require some practice and patience to master the proper technique. In this article, we will go over the key steps to panning for gold and the techniques you should use to make the most of your efforts.
Step 1: Prepare Your Equipment
The first step in panning for gold is to gather the necessary equipment. The most important piece of equipment is a gold pan. Gold pans come in a variety of shapes and sizes, but the most common is a circular pan with a small lip around the edge. It is important to choose a pan that is comfortable for you to hold and easy to maneuver.
In addition to a gold pan, you will also need a shovel or trowel to dig up soil and gravel, a classifier to separate larger rocks and debris, and a sluice box or gold-catching device like a panning wheel. Make sure to check that all of your equipment is in good working condition before you begin.
Step 2: Find a Good Location
The next step is to find a good location to pan for gold. The best place to start is to research the area you plan to pan in and look for locations that have a history of gold mining. You can also check with local mining clubs or prospecting groups to see if they have any tips on where to find gold.
Another way to find gold is by looking for areas that have a lot of heavy mineral content, such as black sands. These areas are often rich in gold and other valuable minerals. Once you have found a good location, use your shovel or trowel to dig up soil and gravel. Make sure to use a classifier to remove any large rocks or debris.
Step 3: Panning for Gold – Washing the Pan
The next step is to fill your pan with the soil and gravel you have collected and submerge it in water. Begin by gently shaking the pan back and forth. This process is called “washing” and it is what separates the heavy gold particles from the lighter soil and gravel. As you shake your pan, the lighter material will begin to wash over the lip of the pan, while the heavier gold particles will remain in the pan.
It is important to keep your pan level and to keep the water moving in a circular motion. This will help to keep the gold particles in the pan and prevent them from washing over the lip. To achieve this, you should use your wrist instead of your elbow to move the pan, this will allow you to have a better control of the pan.
As you shake and wash the pan, you will want to pay attention to the black sands that often accumulate at the bottom of the pan. These black sands are usually heavy minerals such as magnetite, hematite and ilmenite, which are often rich in gold. Therefore, it’s important to not wash them away, instead, you can use a magnet to remove the black sands and save them for later processing.
It’s also important to note that gold, unlike other heavy minerals, is malleable and ductile, which means that it can be shaped and stretched. Therefore, it’s possible that the gold particles can be flattened and elongated, which can make them difficult to spot. So, it’s important to keep your eyes peeled for any shiny or gold-like flakes or particles, even if they are small or flattened.
It’s also important to not over-wash your pan, as this can cause the gold particles to wash away. You should stop washing the pan when you see the first sign of gold, and then proceed to the next step of checking for gold.
Step 4: Checking for Gold
As you continue to wash your pan, you will begin to see small flakes of gold in the bottom. These are called “color” and are a good indication that you are on the right track. Once you have removed most of the lighter material, you can start to carefully check for gold by gently running your fingers through the remaining material.
It is important to take your time during this step as gold can be very small and easily missed. It is also helpful to use a magnifying glass to get a better look at the material in the pan. If you are having trouble seeing any gold, you can try using a small flashlight or headlamp to illuminate the pan, this will make it easier to spot any gold particles.
Another helpful tip is to tilt the pan slightly and hold it up to the sun or a light source. This will make it easier to spot any gold particles in the pan, as the light will reflect off of them, making them shine.
Once you have checked for gold and have removed any larger pieces, you can pour the remaining material back into your sluice or onto a piece of clean paper or cloth, so that you can check for any smaller gold particles that you may have missed.
Step 5: Cleaning Up
Once you have finished panning and have checked for gold, it is important to properly clean up your equipment and the area you were working in. This includes removing any debris or leftover material, and properly disposing of it. It is also important to leave the area in the same condition as you found it, so that it can be used by future prospectors.
In conclusion, panning for gold may seem simple, but it does require practice and patience to master the proper technique. By following the steps outlined above, you can increase your chances of finding gold and make the most of your efforts. Remember to always research the area you plan to pan in, and to take your time and be thorough when checking for gold. With a little bit of effort and a lot of patience, you could be on your way to discovering your very own gold nugget